How to
How to Use Air Tag: A Comprehensive Guide

In the modern era of technology, keeping track of your personal belongings has never been more important – or easier. Apple’s introduction of the Air Tag has revolutionized the way we monitor our most prized possessions, from keys to luggage, ensuring that losing them is a thing of the past. This comprehensive guide aims to demystify the process of setting up and utilizing your Air Tag, ensuring that your belongings are just a tap away from being found.
What is an Air Tag?
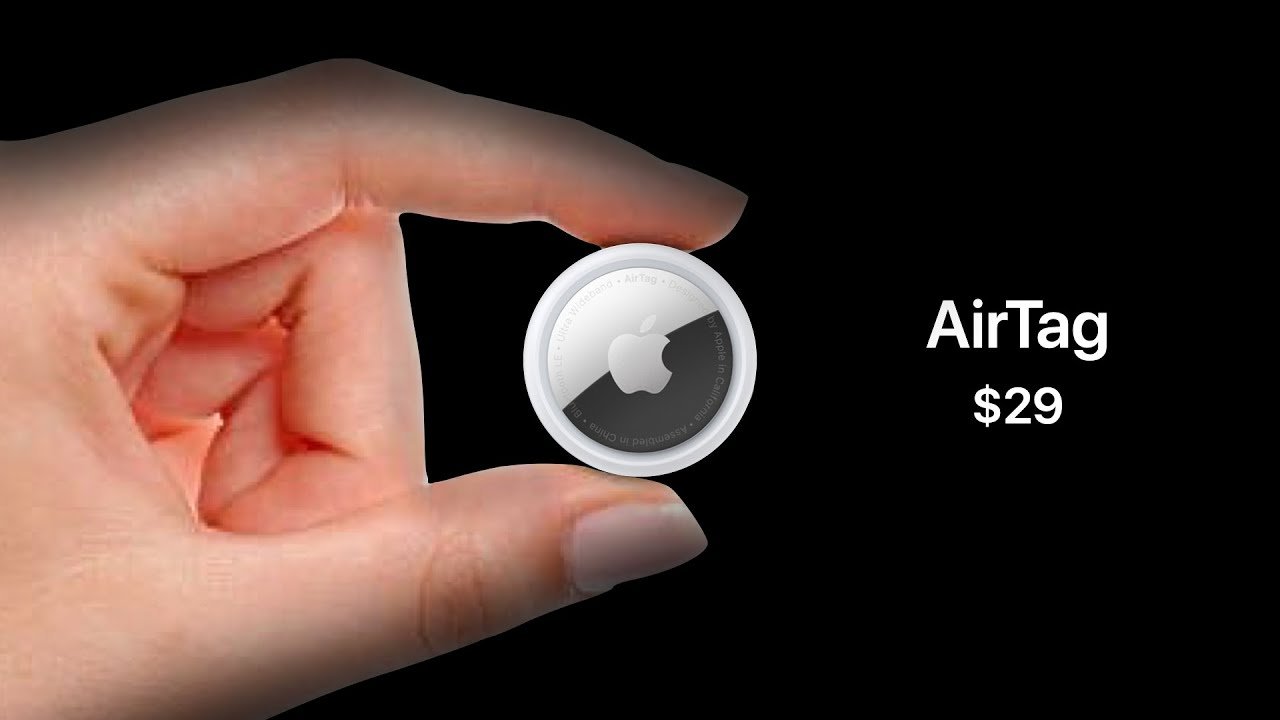
Before diving into the specifics of using an Air Tag, it’s essential to understand what it is. An Air Tag is a small, coin-sized tracking device designed by Apple to help people locate their personal items. Using Apple’s vast Find My network, it leverages Bluetooth technology to communicate the location of your belongings, making it incredibly easy to find them. Whether your item is under a couch cushion or left in a hotel room across the country, an Air Tag makes it recoverable.
Setting Up Your Air Tag
Setting up your Air Tag is a straightforward process designed to integrate seamlessly with your Apple ecosystem.
- Unbox and Activate: Start by removing your Air Tag from its packaging. Pulling the tab activates the device, indicated by a sound that confirms it’s ready to pair.
- Pair with Your iPhone: Bring the Air Tag close to your iPhone. A dialogue will pop up, similar to how Air pods connect, prompting you to connect the Air Tag to your device. Follow the on-screen instructions, where you’ll name your Air Tag based on the item it will be attached to, such as “Keys” or “Backpack.”
- Finalize Setup: After naming your Air Tag, your iPhone will finalize the connection, securely linking the Air Tag to your Apple ID. This process ensures that only you can track your Air Tag, providing a layer of security and privacy.
Tracking Your Items
Once your Air Tag is set up, tracking your items is incredibly user-friendly, thanks to the Find My app.
- Open the Find My App: Launch the Find My app on your iPhone. Here, you’ll see a list of devices and items connected to your Apple ID, including your newly added Air Tag.
- View Item Location: Select your Air Tag from the list to see its current location on a map. If the item is nearby, you can play a sound on the Air Tag to help locate it.
- Lost Mode: If your item is farther away, you can use Lost Mode. Once activated, you’ll be notified when it’s detected by the Find My network. Additionally, if someone finds your item, they can tap the Air Tag with their iPhone or NFC-capable device to see your contact information, if you’ve chosen to provide it.
Precision Finding
For iPhone 11 users and later, Precision Finding is a game-changer. This feature uses ultra-wideband technology to provide the exact distance and direction to your Air Tag, as long as it’s within range. This is particularly useful in crowded or cluttered environments where a simple sound may not be enough to locate your item.
Privacy and Security
Apple has built the Air Tag with privacy and security at its core. Only you can see where your Air Tag is located, and location data is encrypted every step of the way. Furthermore, the Air Tag is designed to prevent unwanted tracking. If your iPhone detects an unknown Air Tag moving with you over time, it will alert you, ensuring that your privacy is protected.
Conclusion
The Air Tag is a testament to Apple’s commitment to combining innovative technology with practical applications. Its ease of setup, integration into the Apple ecosystem, and powerful tracking capabilities make it an indispensable tool for keeping track of your belongings. Whether you’re prone to losing your keys or want peace of mind when traveling with valuable luggage, the Air Tag offers a solution that is both simple and secure. By following this guide, you’ll be well on your way to mastering the use of your Air Tag, ensuring that your possessions are always within reach.


